This documentation is for Banner 1. If you use banner 2 please see here.
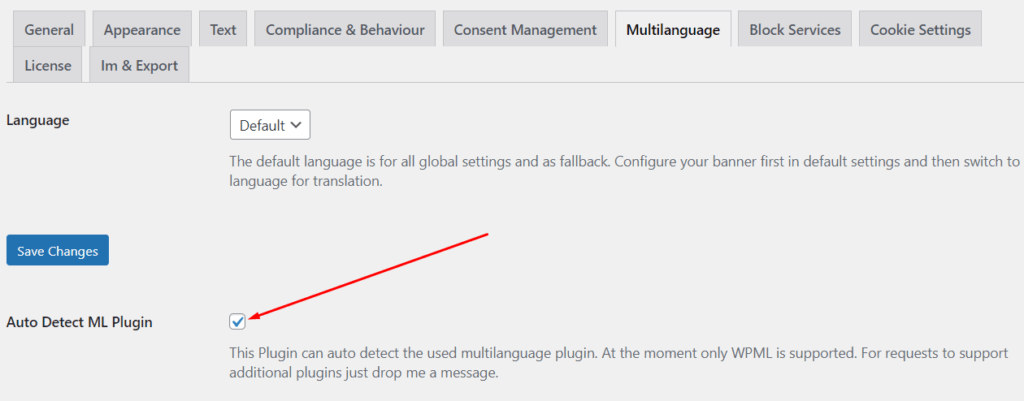
After installation of the premium add-on go to Settings > Cookie Consent Banner > Multilanguage.
WPML installed
If you have WPML installed you are already finished. All you have to do is use the language switcher on top of each page and translate the required text fields in the needed language.
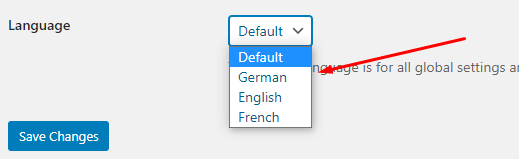
The default setting is the fallback and needed to do the global banner configs, which are the same for all languages.
No WPML installed
If you do not have WPML installed you can easily configure the plugin by yourself. Just untick “Auto Detect ML Plugin”.
Add a comma separated list of iso-2 language code:

This are the available languages you support in your blog.
Select how this plugin shall recognize the current language:

Url: the language can be detected from the url, e.g. https://myblog.org/en/mypath or https://en.myblog.org/mypath
Cookie Value: the language can be read from a cookie.
If you choose “Cookie Value” you have to specify the cookie name from which to extract the language.

Define the regex for extracting the language code
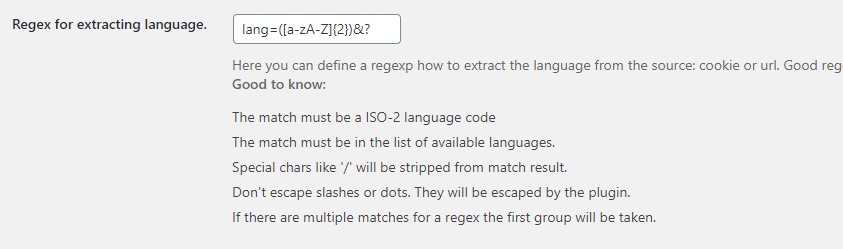
Here you define how this plugin extracts the value from the “Language Source”: Url or Cookie Value.
Some specialties: don’t escape “/” or “.”, they will be automatically escaped. You can not use “.” in your regex.
If there a multiple matches the first group will be taken. If you want to test your regex try this great page: https://regex101.com/
Example regex:
| Example Source | Regex to get language |
| https://myblog.org/en/mypath | /[a-zA-Z]{2}/ |
| https://en.myblog.org/mypath | /[a-zA-Z]{2}. |
| https://myblog.org/path/?lang=en | lang=([a-zA-Z]{2})&? |
| Cookie Value: en | [a-zA-Z]{2} |
Now you have use the language switcher on top of each page and translate the required text fields in the needed language.
The default setting is the fallback and needed to do the global banner configs, which are the same for all languages.